

Arch Wall Moulding

This is an easy and non-invasive way to add a clean and classic design to your apartment walls.
Supplies:
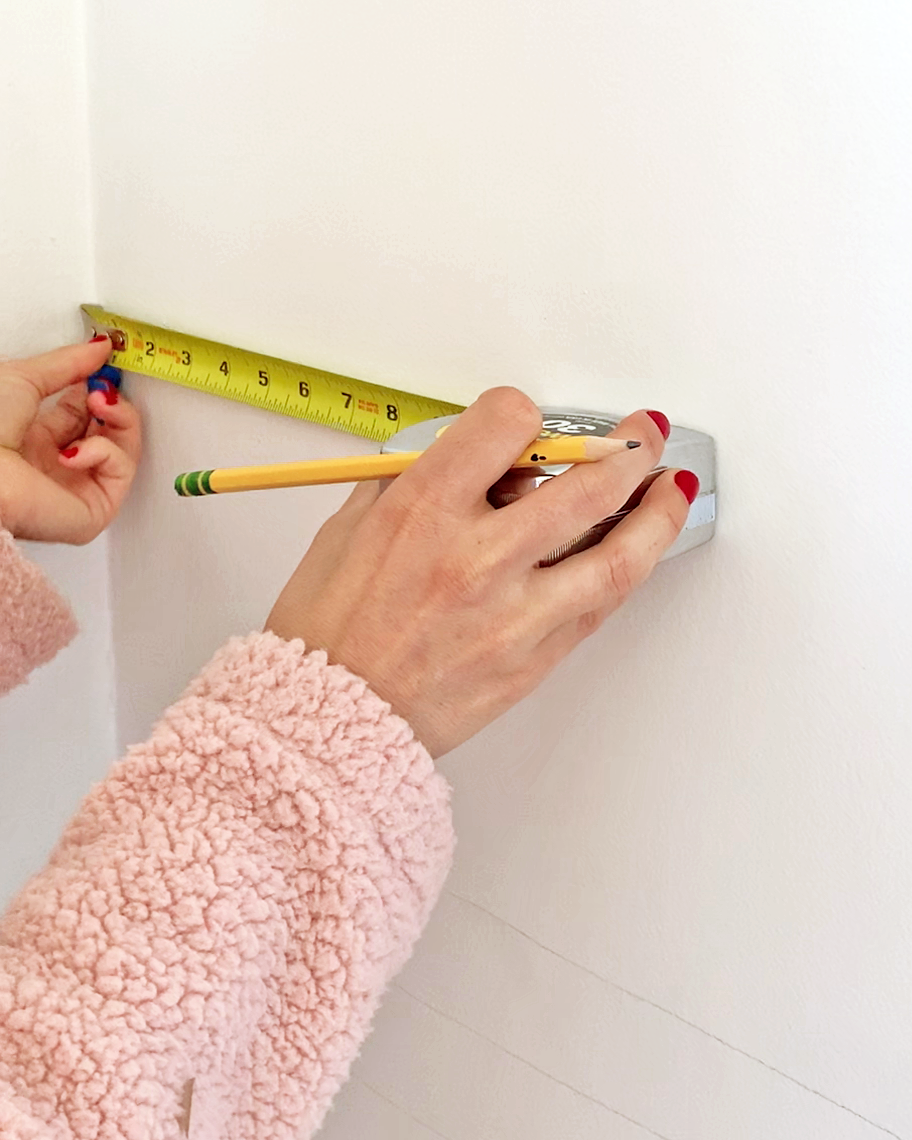
Step 1 - Measure and Mark
First, measure and mark the spots on your wall where you want your arches. Blue tape is a good substitute if you don’t want to put pencil marks on your wall. Our large (outer) arches are 52” long x 24” wide and the smaller (inner) arches are 46” long x 18” wide.

Step 2 - Keep It Level
Use a level to to keep your pieces straight. Sometimes walls in apartments (and sometimes homes) aren’t perfectly straight so measuring from the corner at different points can result in crooked marks.

Step 3 - Cut Trim to Size
Once you have your measurements, you can purchase the amount of moulding you will need. Measure and cut your moulding according to your marks. I used a table saw but you can make these cuts pretty easily with a hand saw.

Step 4 - Attach The Moulding
Once you have your wood moulding pieces cut, you can attach them to the wall with small 1” Brad nails. Brad nails have a small head so they are less conspicuous.

Step 5 - Mark Arch Guidelines
Use a large compass to mark guidelines for the arches.

Step 6 - Find Lengths of Flexi Mould Arches
You can find the amount of flexi moulding you’ll need with some quick math using the formula C= πd. C stands for circumference and d is the diameter.
First, to find the diameter, measure from the mid-points of the two pieces of wood moulding which will be connecting the arch.
Once you have your diameter, multiply it by π (3.14) to get your circumference. Then divide the circumference by 2 and that is the length of flexi moulding you’ll need for that arch.

Step 7 - Attach Flexi Mould
Before attaching the flexi mould, make sure each piece fits correctly and keeps within your drawn guidelines. Start from one end and attach moulding with 1” Brad nails.
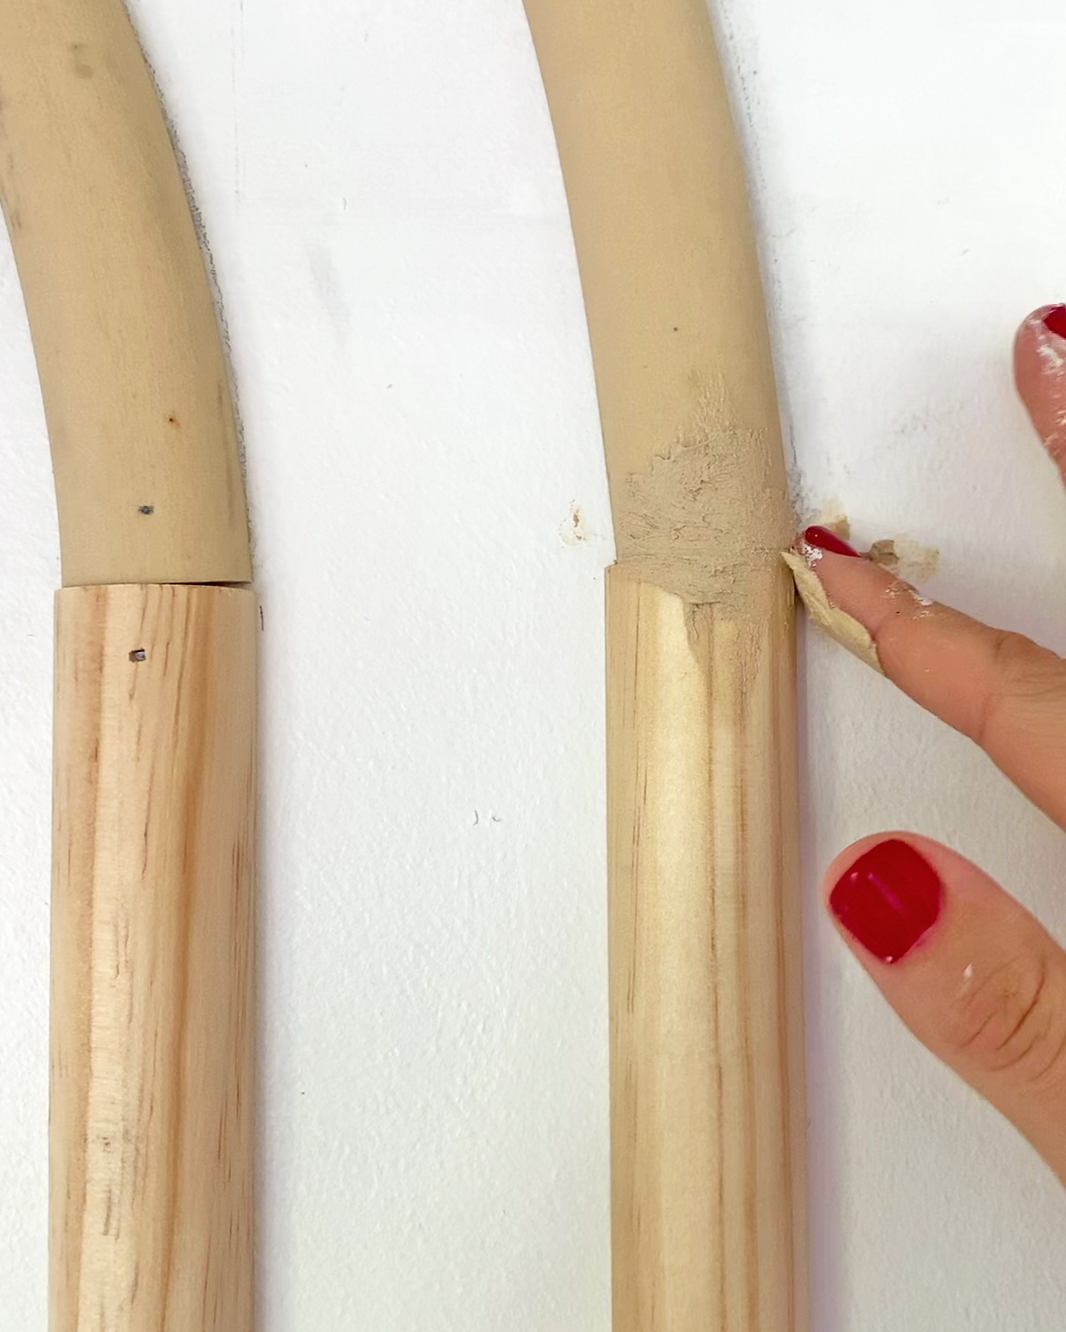
Step 8 - Wood Putty
Finally, fill nail holes and any gaps with wood putty. Then sand smooth and paint. Good luck!