

DIY Veneer Application

Applying veneer was very intimidating to me at first but after a little practice I found it to be a lot of fun. Now I can’t stop looking around at things I can veneer…haha. Hope the steps below help! As always, any questions just give me a shout.

Forgot to include the polyurethane and a paint brush in the image but don’t forget that!
*A Note About Veneer
For this DIY I’m using paper-backed veneer (veneer with a very thin layer of paper on the back) which is fairly common and I think quite easy to use…especially for a beginner. The paper holds the veneer together really well which was helpful when handling and cutting. There is also wood-backed veneer (veneer with a very thin layer of wood on the back) and raw wood veneer which is simply veneer with no backing.
There are also different techniques and types of glues recommended for different veneers BUT DON’T GET OVERWHELMED! I think this DIY is a good intro and the more you work with veneer the more you’ll learn.
Lastly, with a quick Google search you can find veneer of almost any type of wood from common woods to exotic. You can purchase various sizes of veneer depending on the amount you will need for your workpiece. Here are some other places to shop veneer options…Rockler, Woodcraft, Etsy.

Step 1 - Measure Your Workpiece
We only had a small amount of veneer left from our bar cabinet project so Wesley built this custom wood box out of 1/2” plywood for this DIY. This box is 19” x 10.25”. It will make a great little side table when we’re finished.
IMPORTANT - Be sure to add an extra 1/4” ro 1/2” to your measurements so you have a reasonable amount of veneer overhang.
Since veneer isn’t cheap I recommend measuring twice before making any cuts. I try to always follow the “Measure twice, cut once” rule.


Step 2 - Mark and Cut Veneer
After you mark your veneer, use a sharp pair of scissors to make your cuts. Double check to make sure your cut pieces of veneer fit on your workpiece.

Step 3 - Apply the Glue
Apply a generous amount of glue onto your workpiece and use the little sponge roller to make sure you get complete coverage.

This plywood really soaked up my glue so I had to add more. You want to aim for good coverage but not so much you get pockets of glue when you lay down the veneer.

Add glue to the veneer as well. I recommend using a drop cloth or craft table you don’t mind getting a bit messy because you want to cover the veneer with glue completely.
You could use some double stick tape to keep the veneer in place so glue doesn’t get underneath and on the face of the veneer.
A Note About Veneer Adhesives
There are three main types of adhesives mostly used with veneer…standard cold pressed veneer glue, contact cement, and iron-on glue. You can sometimes purchase ‘iron-on ready’ veneer but it will usually be a little more expensive. It’s often up to you which glue you’d like to use depending on how steady of a hand and how much time you have. It is not recommended to use regular wood glue on veneer and contact cement should not be used on wood veneer with no backing.

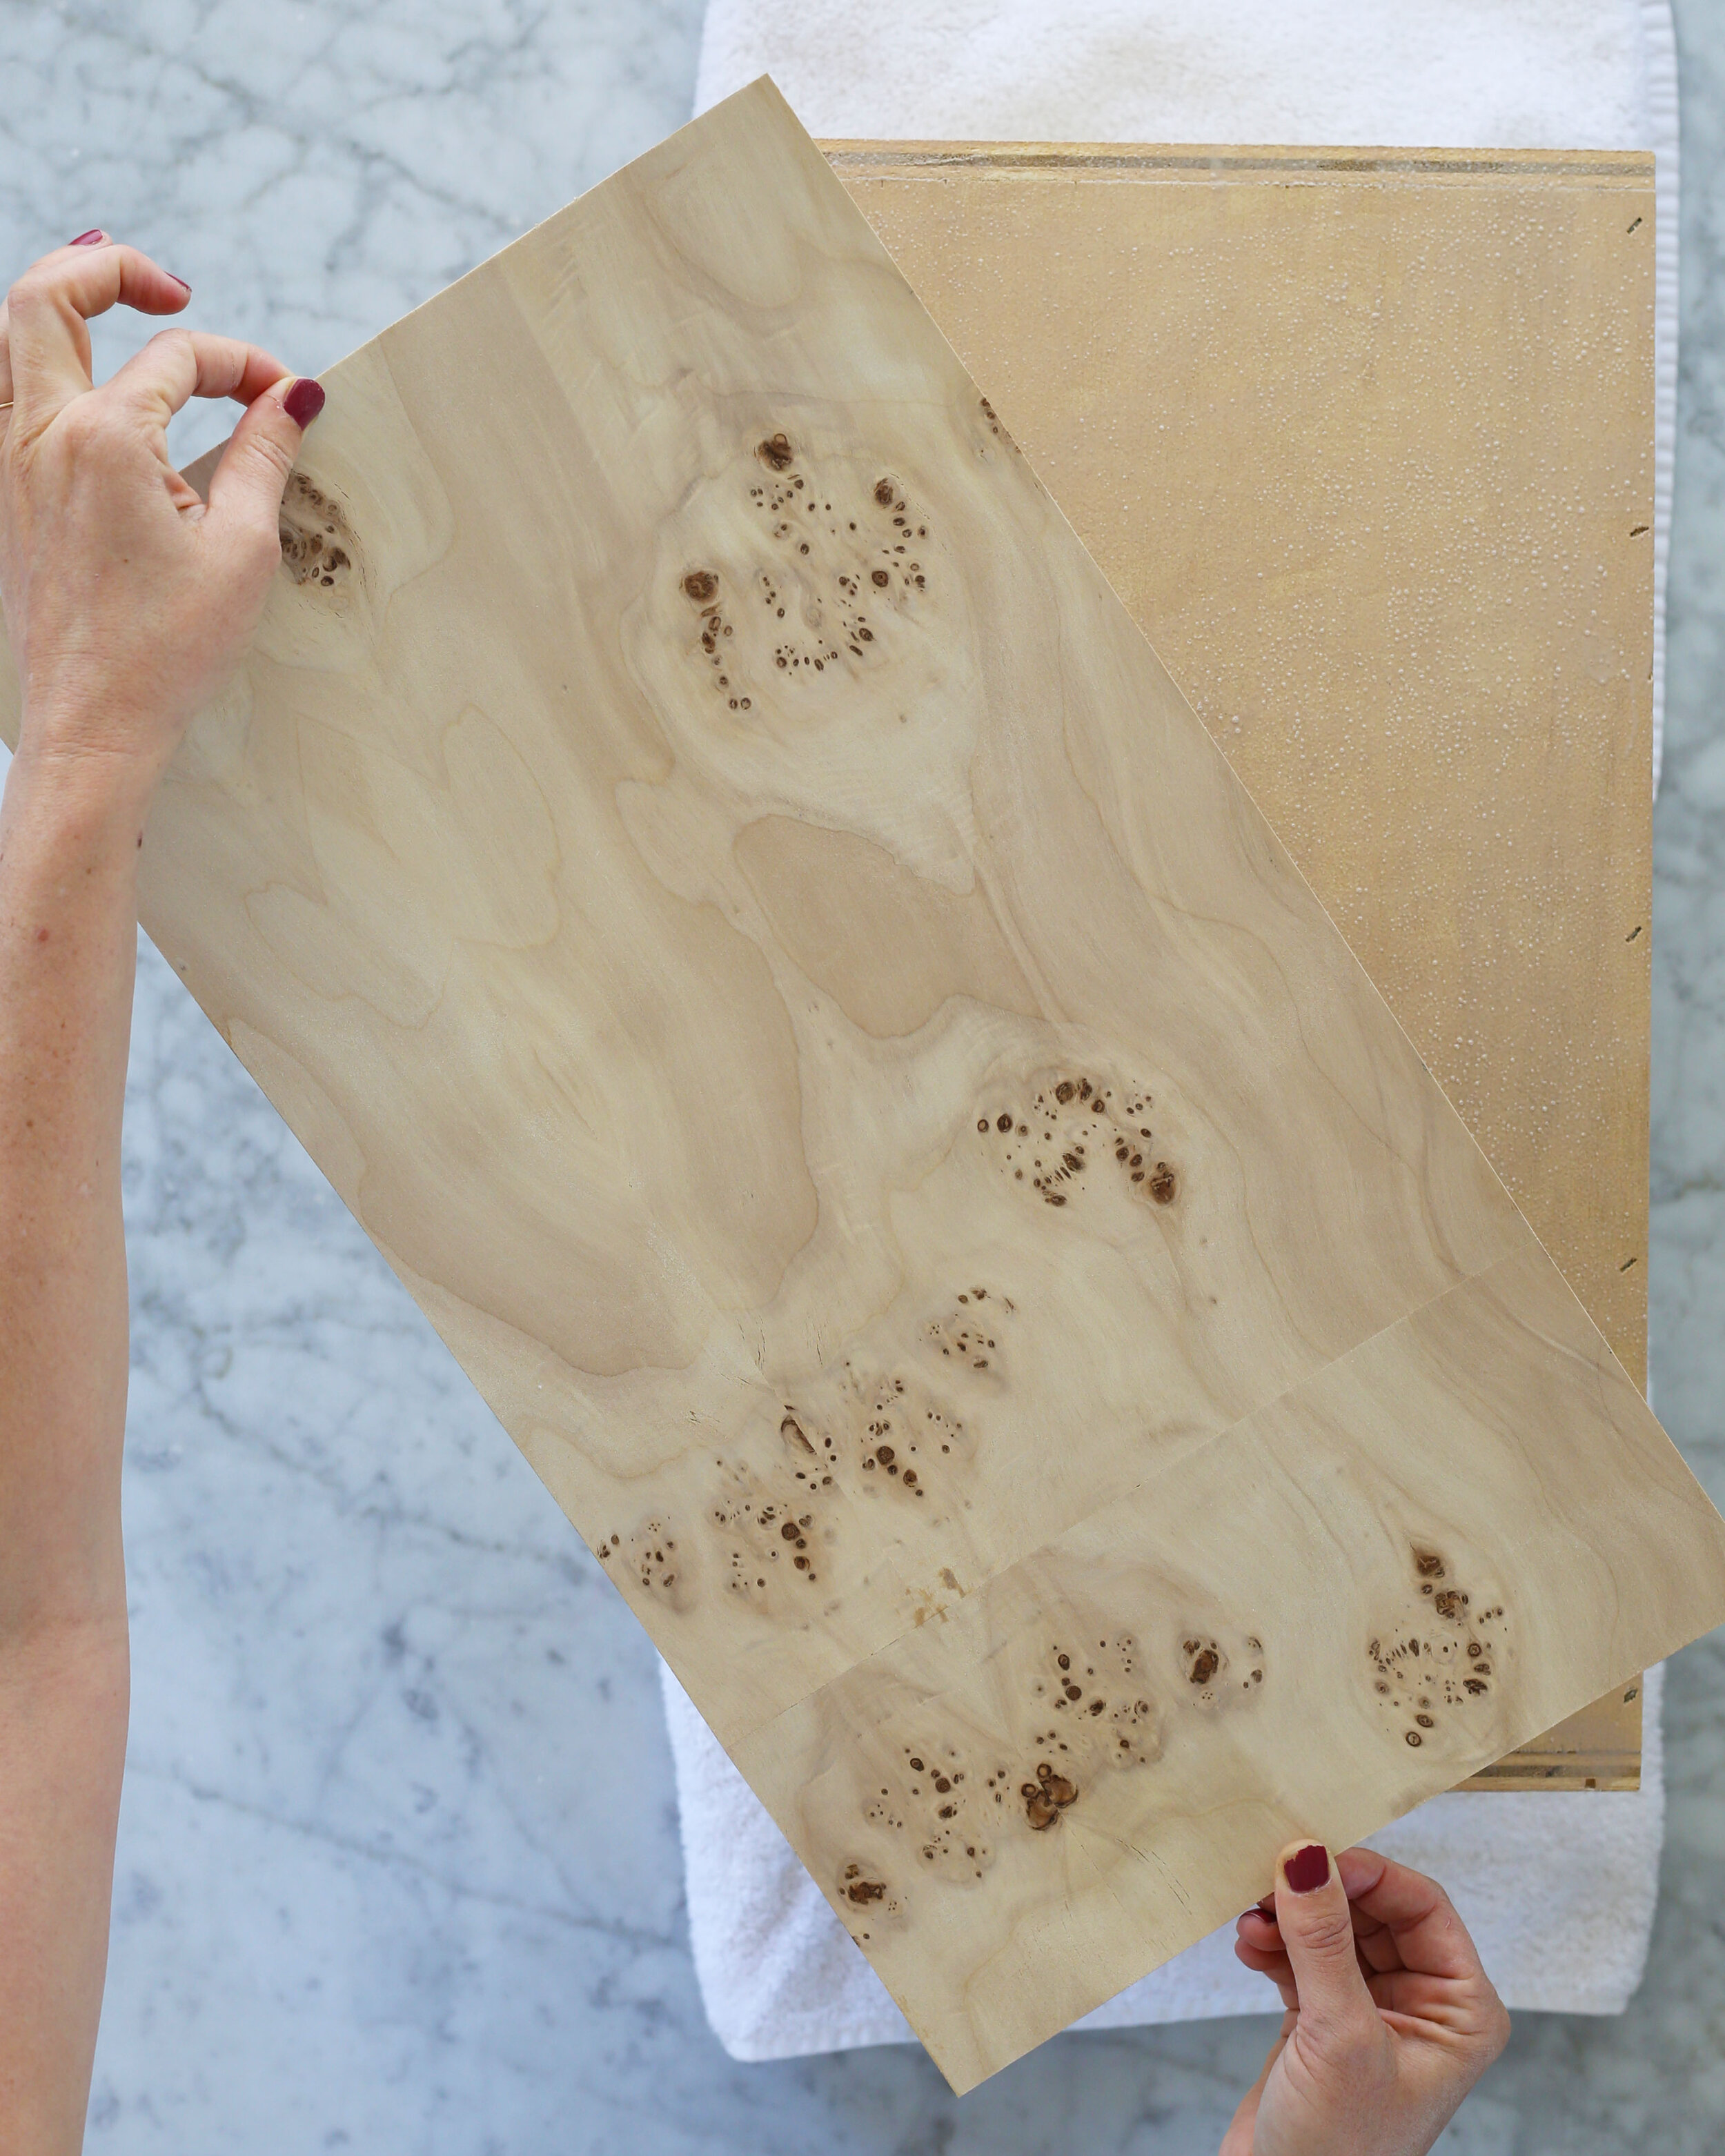
Step 4 - Attach the Veneer
Attach the veneer to your workpiece. The nice thing about using this veneer glue is it gives you the ability to slide/shift the veneer as you need to get it attached just right. When using contact cement, which is also a common adhesive used with veneers, you have to lay the veneer down exactly right on the first shot. That type of stress is almost too much for me LOL.
Once you have the veneer where you want it, press down and out any air bubbles. With your hands, press down and push out towards the edges of the veneer.

Step 5 - Prep for Clamping
Completely cover the attached veneer with a sheet of parchment paper. The parchment paper prevents any glue that might seep through the veneer from sticking to the wood panel.
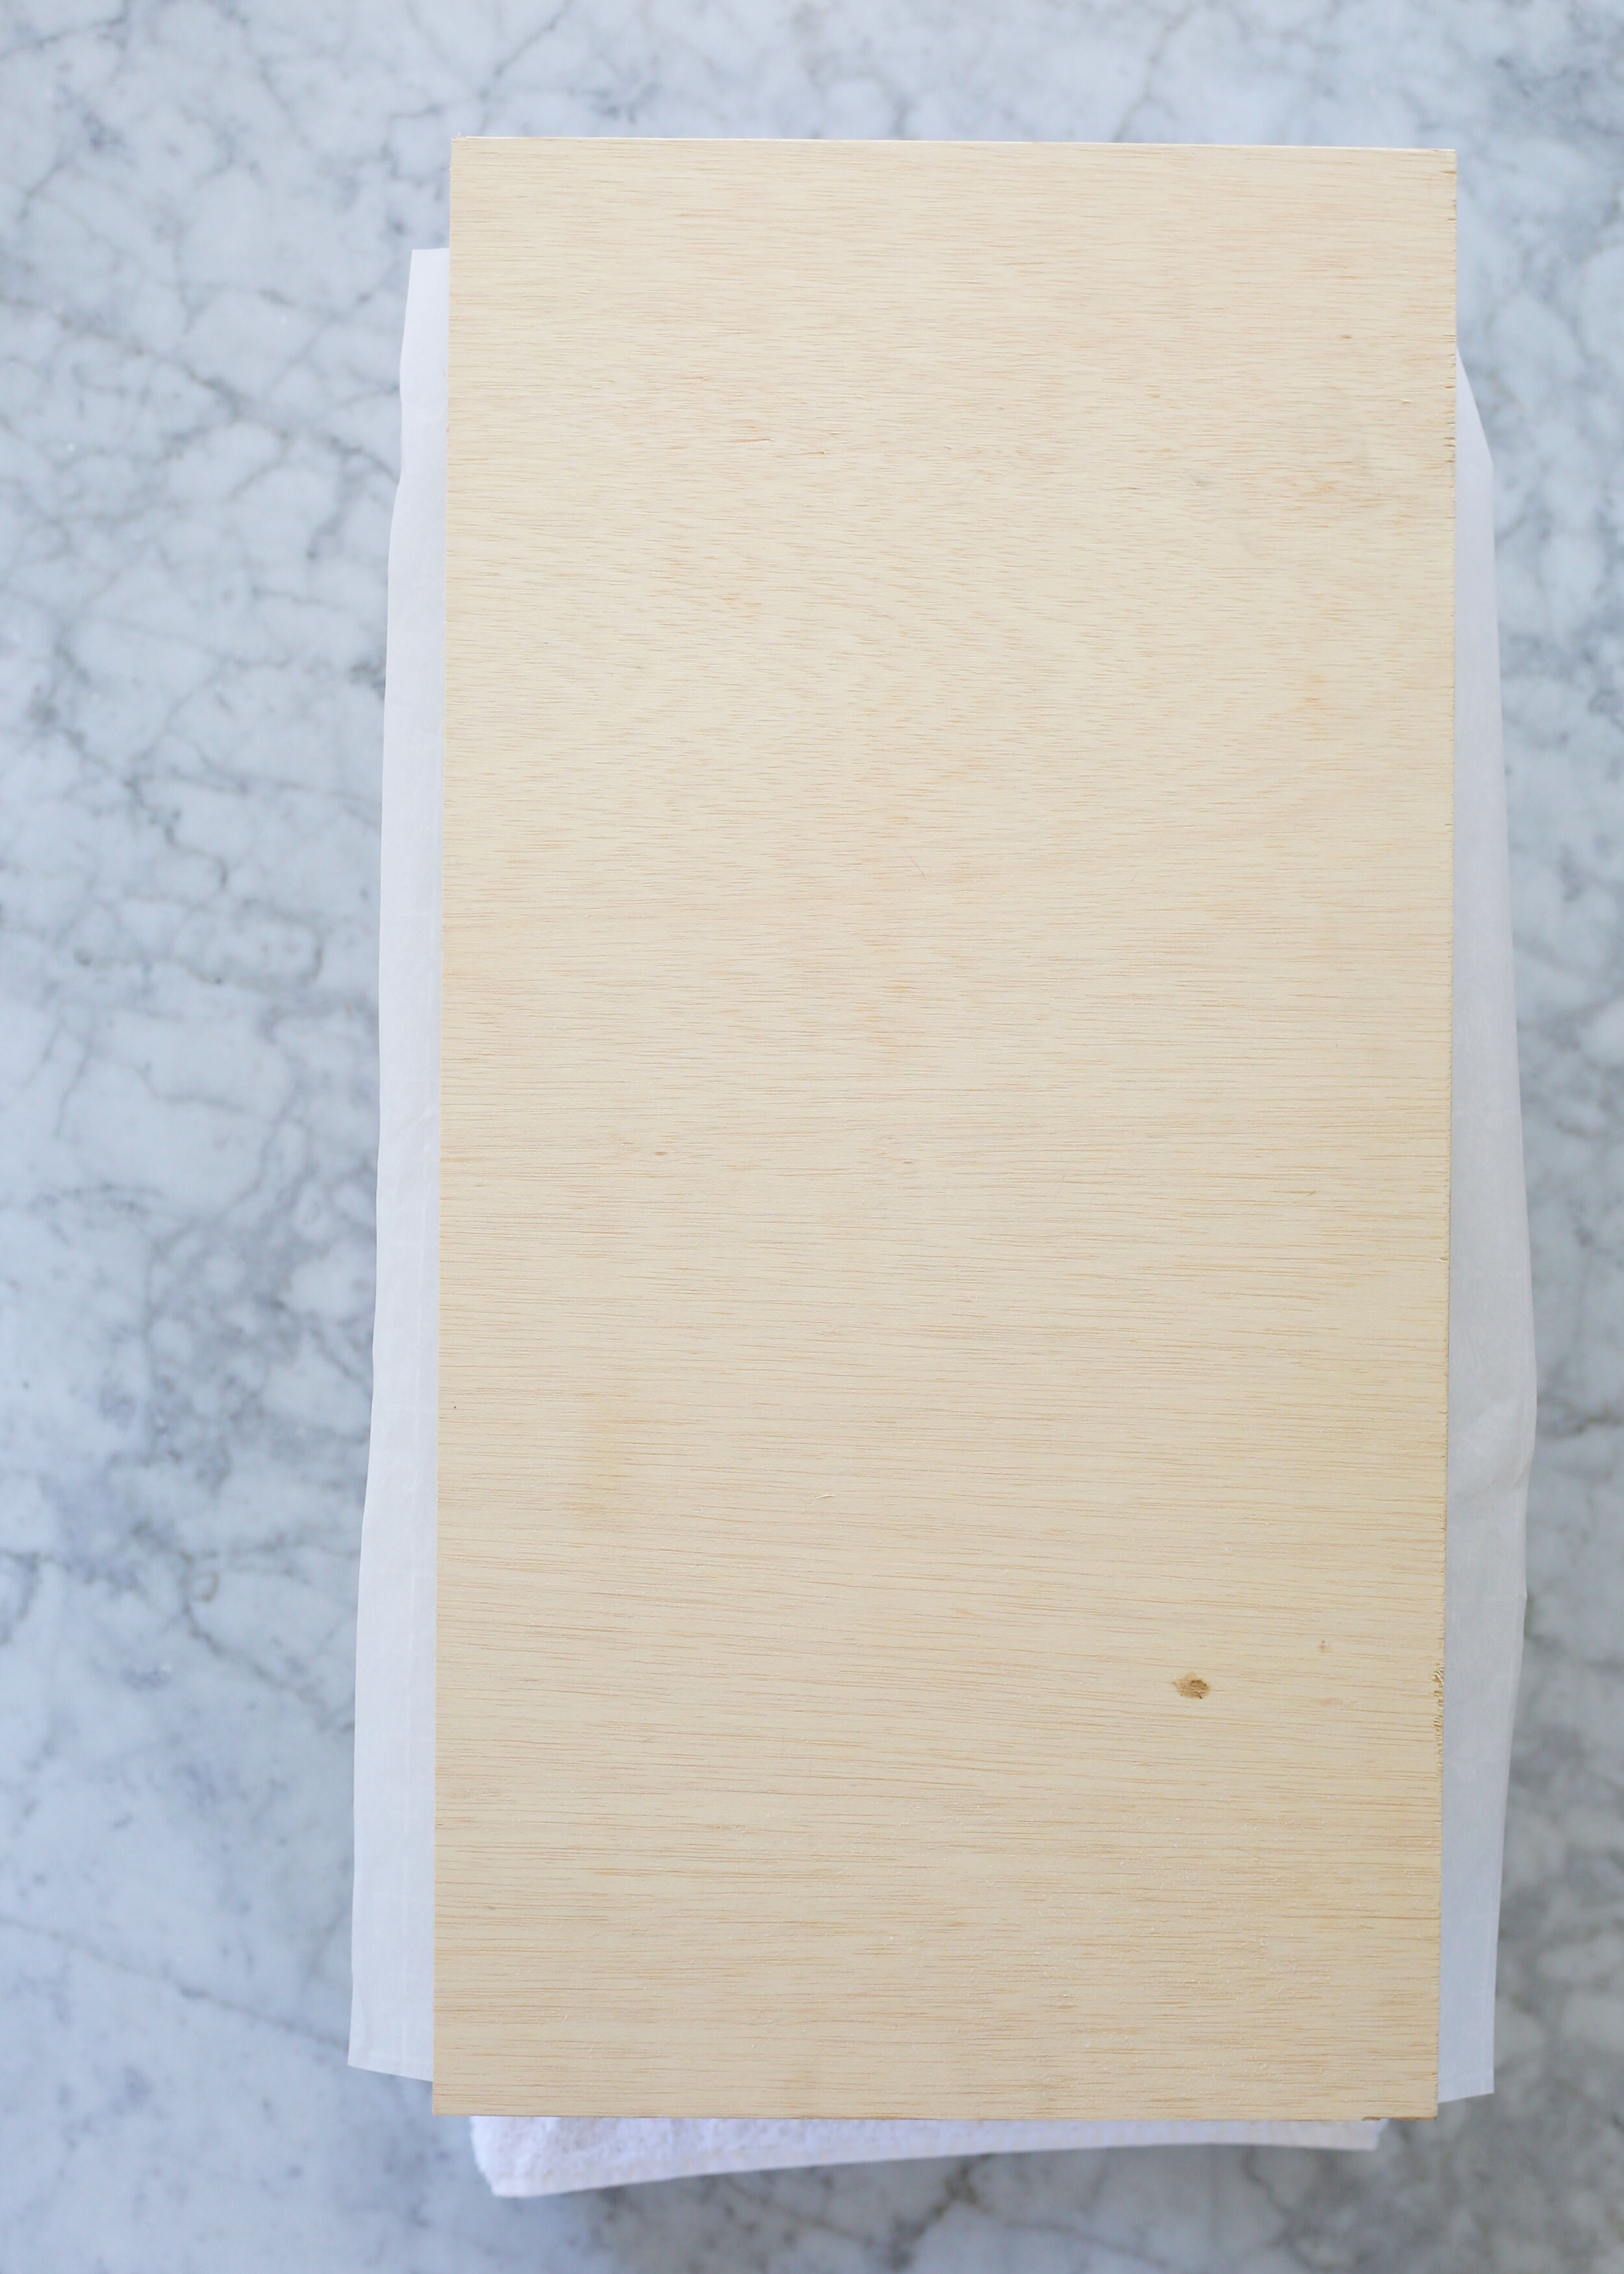
Lay your flat panel of wood on top of the parchment paper making sure it covers all edges of the veneer.


Clamp down the panel of wood firmly. I recommend using a thick-er panel of wood (like 3/4”) as that will distribute the pressure evenly throughout the veneer. In the images above you can see I’m gluing two opposing sides at the same time.
Let the glue dry according to the manufacturer’s recommendation. We gave these about 4 hours to dry before removing the clamps.

If you don’t have clamps no worries! You can use books or anything heavy really. Just try to evenly distribute the weight.

Step 6 - Trim the Veneer
Once the glue is dry it’s time to trim the veneer. Since I’m not a professional who works with veneer everyday, I didn’t feel the need to purchase a veneer trimmer so I used a utility knife and file. Start with your utility knife and be careful not to cut too close to the edge of your workpiece. Sometimes the grain in the veneer will try to draw the blade into the edge if you’re too close. Take small passes to be safe, cutting a little at a time, until you have very little overhang.
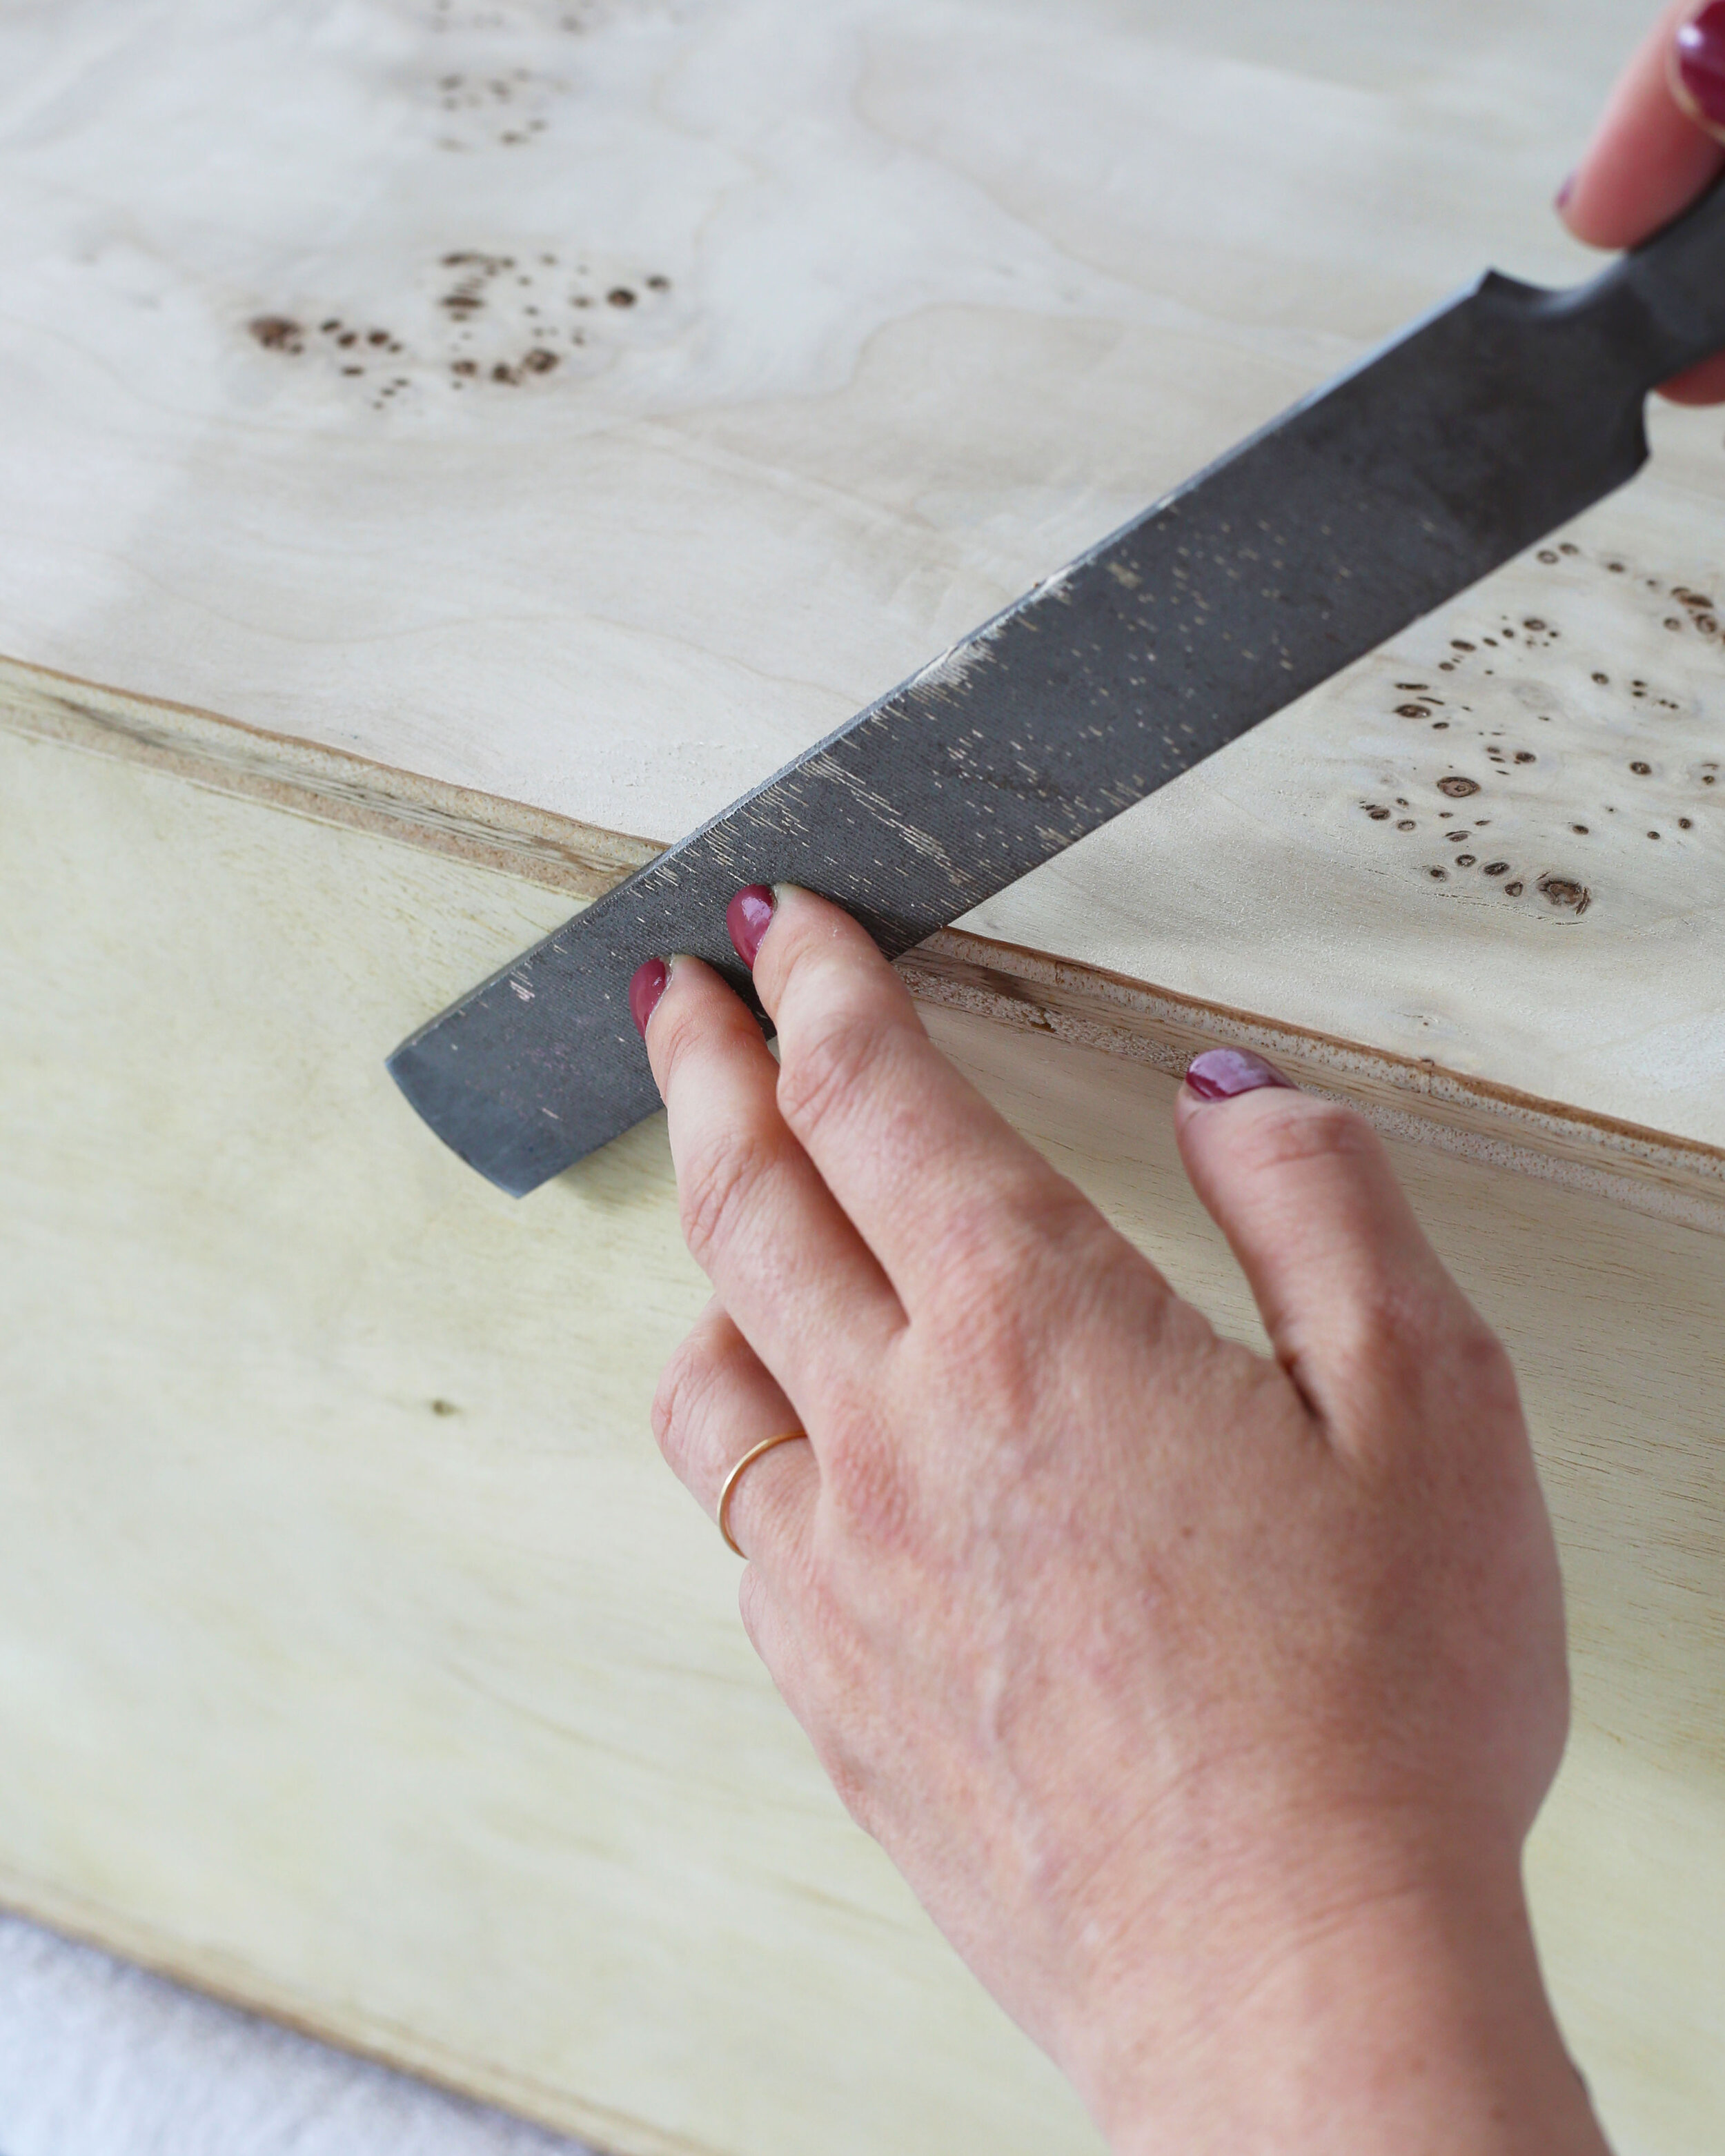
Once you have the majority of overhanging veneer removed, use your file to smooth and flatten the edge. Start with easy strokes, not too much pressure, always pushing the veneer into the workpiece. Keep your file as level as you can sliding flat down the adjacent side to prevent from digging into the corner. It might be awkward at first but you’ll quickly get the hang of it.

Repeat steps 1 - 6 to get all sides of your workpiece covered. Since this little table will mostly be viewed from above I decided to veneer the top last to cover the seams on the sides. It’s not a big deal but I try to pay attention to little details like that.


Once you have all sides covered, take extra care not to damage the veneer when trimming the overhang. The added attention and patience will be worth it!

Step 7 - Apply the Boiled Linseed Oil (optional)
I really liked the natural color of this veneer and didn’t want to alter that too much. Initially I wasn’t going to add boiled linseed oil and just go straight to applying the polyurethane. BUT after testing on some scrap pieces it appeared no matter what I did, both the poly and oil was going to darken the appearance.
With that in mind I decided to go ahead and apply the oil as it helps protect the wood in addition to enriching the natural color and texture of the wood. If you want, you can skip the oil, and just add the polyurethane.

Use a rag to apply a generous amount of oil all over your workpiece. It’s okay if it’s a little heavy handed. You want to make sure the veneer gets a healthy, even coat.

Let the oil soak in for about 15 - 20 minutes and then wipe off the excess oil with a clean rag or paper towel.
WARNING: Flammable! Be sure to dispose of oil soiled rags according to the manufacturer’s recommendation.
And now we wait…
Let oil fully dry. Depending on the weather and temperature conditions you’re working in, this usually takes 2 - 3 days at least.


Step 8 - Poly and Sand
Finally, use a paint brush to apply 2 - 3 coats of polyurethane with light sanding in-between coats. I’m using a water-based polyurethane with a matte finish and I recommend using a finer grit sandpaper like 320.
Polyurethane not only protects your piece from damage but makes it nice and smooth to the touch.
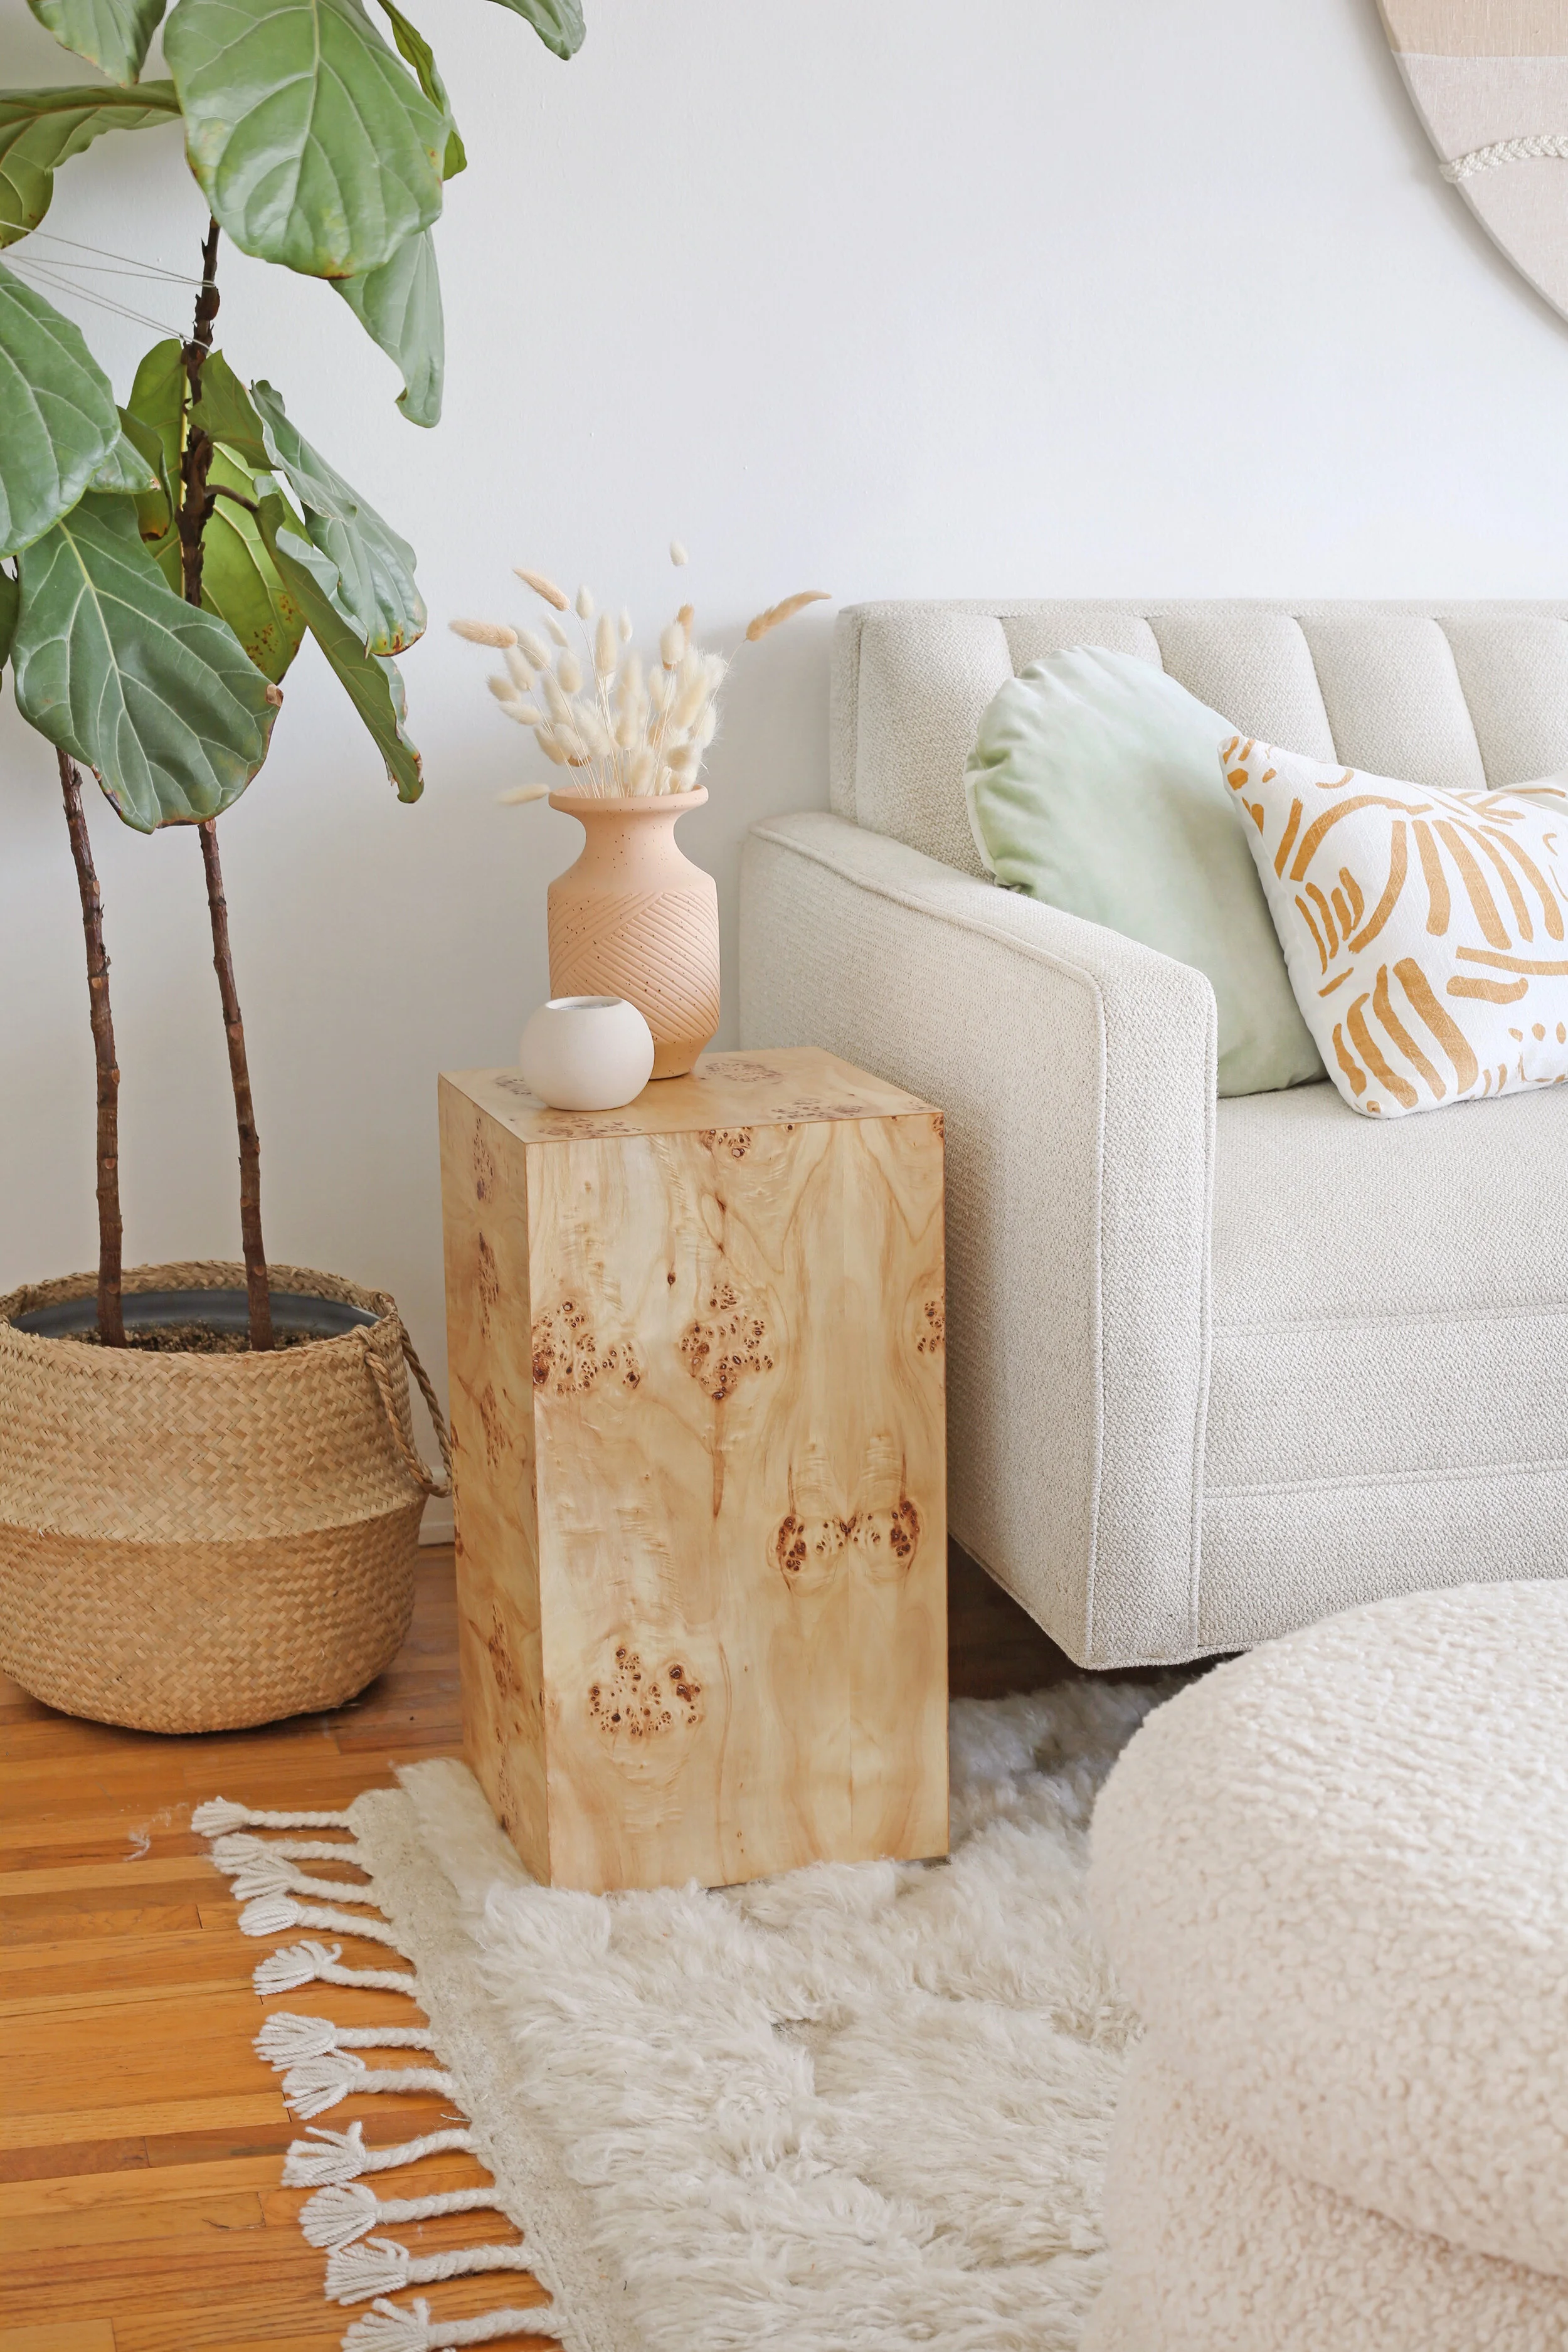
And that’s it! Now you have a modern, beautiful piece of furniture for a third of the cost!
Watch this DIY below